Essential Vocal Effects You Need to Know as a Music Producer
Explore essential vocal effects every music producer should know. Enhance your vocal tracks with our expert tips and techniques.
Introduction
Voice effects are key tools for any music producer aiming to elevate vocal tracks to a professional level. We asked our Musiversal experts to help us create this guide, covering the most widely used voice effects, explaining how they work, and offering practical tips for their application. Whether you're an experienced producer or just starting out, understanding these effects will help you enhance your vocal recordings effectively.
EQ (Equalization)

What Is An EQ?
EQ stands for equalization, which is the process of adjusting the balance between different frequency components within an audio signal. Equalization tools enable you to isolate specific frequencies in an audio file, eliminating unwanted sounds or amplifying the frequencies you wish to emphasize.
- Purpose: EQ adjusts the balance of various frequency components within an audio signal.
- How it works: By boosting or cutting specific frequency ranges, EQ helps shape the tonal balance of a vocal recording.
- When to use it: Use EQ to remove unwanted frequencies, such as low-end rumble or harsh highs, and to enhance desirable vocal characteristics.
- Pro Tip: Begin with a gentle high-pass filter to eliminate low-frequency noise, and make subtle adjustments to carve out space for the vocal in the mix.
Types of EQs
Dynamic EQ
- Definition: The most advanced type of EQ, dynamic EQs adjust their settings dynamically based on the input signal.
- Features: They often include attack and release controls, allowing for compression within the EQ settings.
- Usage: Ideal for situations requiring adaptive frequency control, especially useful for vocals with varying dynamics.
Parametric EQ
- Definition: The most versatile and common EQs used in music production.
- Features: Parametric EQs offer adjustable frequency bands, gain, and filter types. They typically display the entire frequency spectrum, making it easy to perform precise adjustments.
- Usage: Perfect for making detailed cuts and boosts, allowing for surgical adjustments to the audio signal.
Graphic EQ
- Definition: Graphic EQs use slider controls to adjust specific frequency bands.
- Features: While they lack the flexibility of adjusting filter type or bandwidth, they are useful for broad frequency adjustments.
- Usage: Often used in live sound settings or specific applications where quick adjustments to a fixed set of frequencies are needed.
Digital vs. Analog EQs: Digital and analog EQs can produce subtly different sounds. Digital EQs offer precision and repeatability, while analog EQs often impart a certain character or warmth to the audio signal.
Check out this video to hear what EQ can do to your vocals!
How Can You Use an EQ?
Understanding how to effectively use an EQ involves applying various filters to either boost or cut specific frequencies. Here’s a breakdown of methods for using parametric, graphic, or dynamic EQs on vocals or across the entire frequency range of a track:
- Low or High Pass Filter: These filters roll off frequencies at either end of the spectrum. A high pass filter (also known as a low cut filter) removes unnecessary low frequencies, preserving the vocal’s clarity by eliminating low mids and other extraneous sounds. Conversely, a low pass filter removes unwanted high frequencies.
- De-esser: This technique targets and reduces sibilant sounds—harsh "S," "T," or "P" sounds—in the higher frequency range, typically around 5-8 kHz.
- Bell Filter: These filters allow for precise control over specific frequencies, with adjustable Q (bandwidth) to expand or contract the affected range.
- Low or High Shelf Filter: Shelf filters boost or cut all frequencies above or below a set cutoff frequency. They are useful for adding air to vocals or for broad tonal adjustments in other instruments.
Subtractive and Additive EQ
- Subtractive EQ: Involves cutting unwanted frequencies to clean up the audio signal, such as removing harsh or unnatural sounds.
- Additive EQ: Involves boosting desirable frequencies to enhance the audio signal, like adding shimmer to vocals or boosting bass during a chorus.
Creative Filtering: EQ can also be used creatively, beyond technical adjustments. For instance, automating dynamic EQs to create custom filters can add interest and variation to your tracks.
Compression
What is Audio Compression?
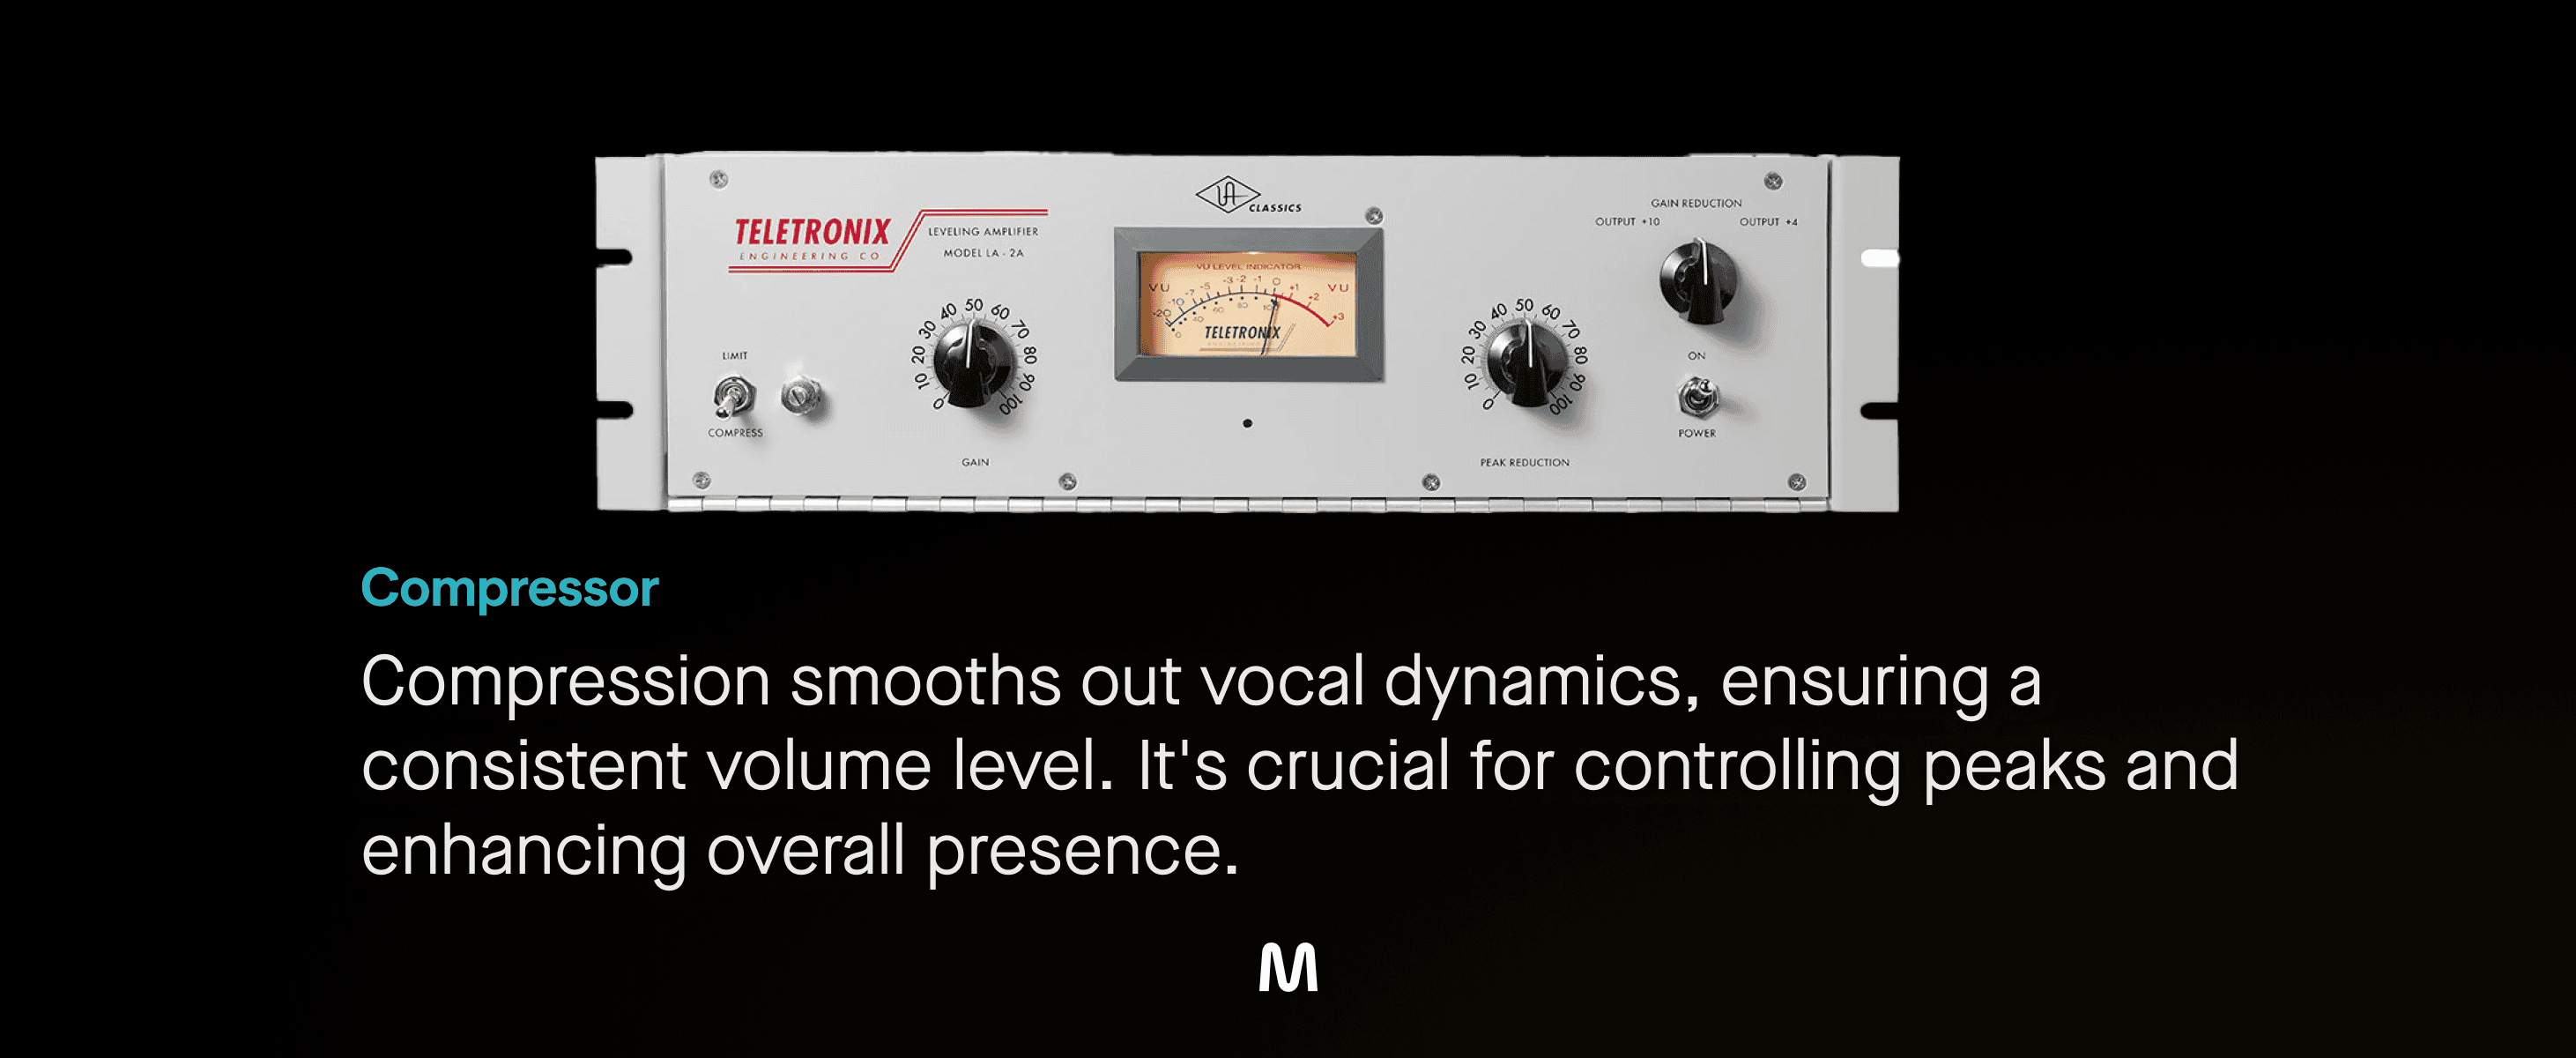
Compression reduces the dynamic range of an audio signal. Vocal recordings naturally have a wide range of loud and soft parts, making them dynamic. Compression narrows this range, making the volume more consistent throughout. This results in the vocal sounding louder and more present in the mix without the loud parts peaking or the quiet parts getting lost.
- Purpose: A compressor reduces the dynamic range of an audio signal, evening out the loud and quiet parts.
- How it works: Compressors apply gain reduction when the signal exceeds a certain threshold, helping to stabilize the performance.
- When to use it: Use compression to maintain consistent vocal levels within the mix.
- Pro Tip: Start with a moderate ratio and threshold, and fine-tune the attack and release settings to shape the compression character.
Common Uses for Vocal Compression
Compression is essential for vocals (or any part of your mix) that need dynamic control. The amount of compression used depends on the performance style and music genre.
- Pop Music: Typically features heavily compressed vocals with minimal dynamic variation. This style suits pop music, which often has a heavily compressed, loud mix.
- Classical Music: Generally has little to no compression. In compositions where vocal dynamics are integral to the story (e.g., an aria), minimal compression is used to preserve the natural dynamics.
If you're unsure how much compression to use, listen to a reference track in a similar genre. Analyze the vocal dynamics: if there are minimal changes, it's heavily compressed; if you can hear subtle dynamic variations, less compression is used.
Check out this video: if you’d like to learn more and hear voice compressor examples.
Step-by-Step Guide to Setting Up a Compressor
- Threshold:
- Definition: The point at which the compressor starts working, measured in decibels (dB).
- Setup: Loop a vocal phrase and identify the quietest word. Set the threshold at this point so everything louder gets compressed.
- Tip: Ensure the threshold is set to avoid capturing breaths or excess noise. If breaths sound too loud, raise the threshold slightly.
- Ratio:
- Definition: Determines how much the signal exceeding the threshold is reduced in volume (e.g., 5:1, 2:1).
- Setup: Start with a 5:1 ratio for pop vocals. Use higher ratios (7:1, 8:1) for heavily compressed vocals or lower ratios (2:1, 3:1) for a more natural sound.
- Makeup Gain:
- Definition: The volume of the compressed signal, also known as output gain.
- Setup: After setting the threshold and ratio, the vocal will sound quieter. Use makeup gain to restore the lost volume by the amount of gain reduction indicated by your compressor's meter.
- Attack and Release:
- Definition: Controls how quickly the compressor reacts to and releases the signal.
- Setup: Adjust these parameters to shape the compression effect. Faster attack times can clamp down on transients, while slower release times can smooth out the compression.
By understanding and applying these principles, you can effectively use compression to enhance your vocal recordings and achieve a professional sound in any genre.
Reverb
What is Vocal Reverb?
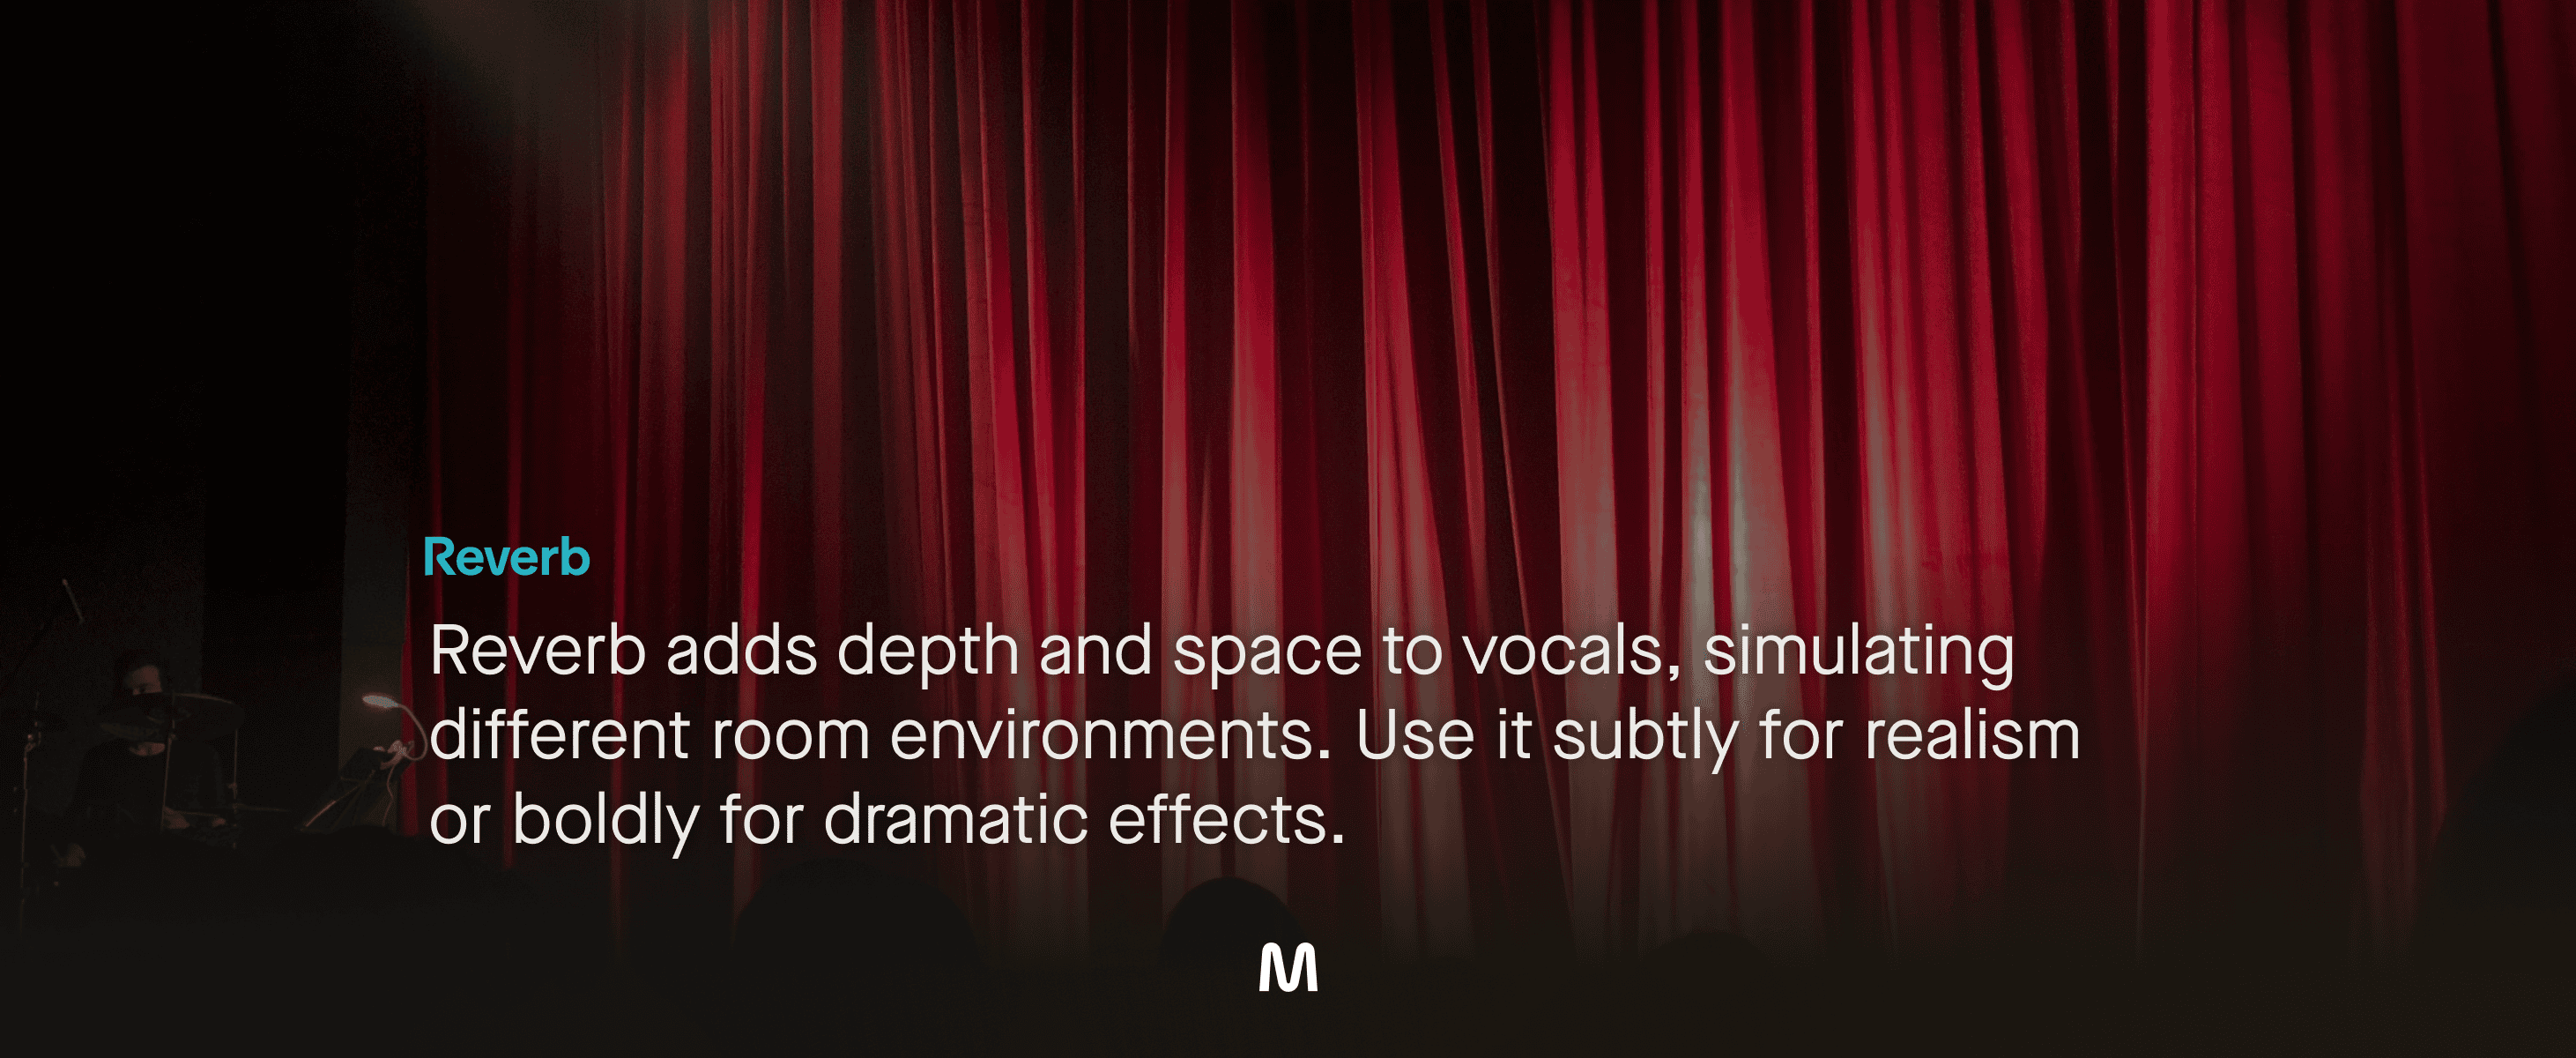
Reverb is a time-based effect used to simulate the sound of sound waves reflecting off surfaces like walls, objects, or the floor. If you've ever noticed your voice sounding different in a large space like a church compared to a smaller room, that's due to the natural reverb characteristics of those environments. Reverb effects and plugins replicate this phenomenon in audio production, and they are commonly used across various genres on lead vocals, backing vocals, lead instruments, and more.
- Purpose: Reverb simulates the sound of an acoustic space, adding depth and ambiance to a recording.
- How it works: By creating a series of reflections, reverb can make a vocal sound as if it was recorded in anything from a small room to a large hall.
- When to use it: Use reverb to add a sense of space and dimension to dry vocal recordings.
- Pro Tip: Use a short reverb for a subtle effect or a long reverb for a more dramatic, atmospheric sound. Always blend the reverb signal with the dry vocal to maintain clarity.
Components of Reverb
Every reverb effect comes with controls that allow you to shape different sonic atmospheres for your audio signal. Here’s an overview of the essential reverb settings:
- Pre-Delay: This control adjusts the time between the original sound and the start of the reverb effect, creating a sense of space.
- Decay Time: Determines how long the reverb reflections last. Longer decay times create more expansive spaces, while shorter decay times keep the reverb subtle.
- Dry/Wet Mix: Adjusts the balance between the unprocessed (dry) signal and the processed (wet) signal. If your reverb plugin lacks a dry/wet knob, you can add reverb to an auxiliary track and send the vocal signal to it.
- Reverb EQ: Some reverb effects include an EQ to shape the sound before it enters the reverb, allowing you to tailor the reverb effect to your needs.
Types of Vocal Reverb
Different types of reverb add unique characteristics to vocals:
- Plate Reverb:
- Description: Known for its warm, retro vibe found in classic rock recordings.
- Sound: Smooth decay with a warm feel, not optimized for vocal clarity but great for stylized effects.
- Hall Reverb:
- Description: Mimics the sound of large halls and spaces.
- Sound: Creates an immersive, spacious atmosphere, ideal for expansive vocal effects.
- Chamber Reverb:
- Description: Provides a dark, slightly diffused reverb space.
- Sound: Long tail with a lush, epic quality, perfect for dramatic effects.
- Room Reverb:
- Description: Emulates the sound of a small room.
- Sound: Subtle and realistic, highlighting key vocal frequencies while maintaining the original signal's integrity.
Should Vocals Be Recorded With Reverb?
Unless capturing the natural reverb of a space, it’s best to record vocals dry (without effects). This approach gives you full control over the balance between the clean vocal and the processed signal during mixing.
Here is a great video that shows you different ways in which reverb can be used to enhance your vocals:
How Much Reverb is Good for Vocals?
The amount of reverb depends on the context and genre of the vocal. Different reverb types will affect the signal uniquely. For instance, genres that call for a natural sound might use minimal reverb, while genres like shoegaze rely heavily on spacious reverb effects.
Tips for Using Vocal Reverb
- Be Mindful of Your Reverb Tail: The reverb tail is the decay signal that follows the initial processing. Ensure it doesn’t clash with other frequencies in your mix by adjusting or cutting it as needed.
- Audition Different Reverb Settings: Experiment with various reverb plugins and settings to find the right fit for your track. Use different types of reverb to keep your listeners engaged.
- Experiment with Parallel Processing: Using reverb on an auxiliary or send track allows for parallel processing. This method blends the processed signal with the original, unprocessed sound, preserving the original signal's dynamics.
- EQ Your Reverb Sound: Use an EQ to clean up the audio signal before passing it through the reverb. Many reverbs have built-in EQs, allowing you to choose which frequencies to process.
- Bypass Reverb for Emphasis: Use silence strategically by bypassing reverb on select words or sections to make them stand out.
- Play with Panning: Create width and depth by applying different amounts of reverb to various vocal tracks and panning them across the stereo field.
- Automate Reverb Over Time: Create dynamic changes by automating the dry/wet mix of the reverb or the reverb itself over time, enhancing specific sections of your song.
Delay
What is Vocal Delay?
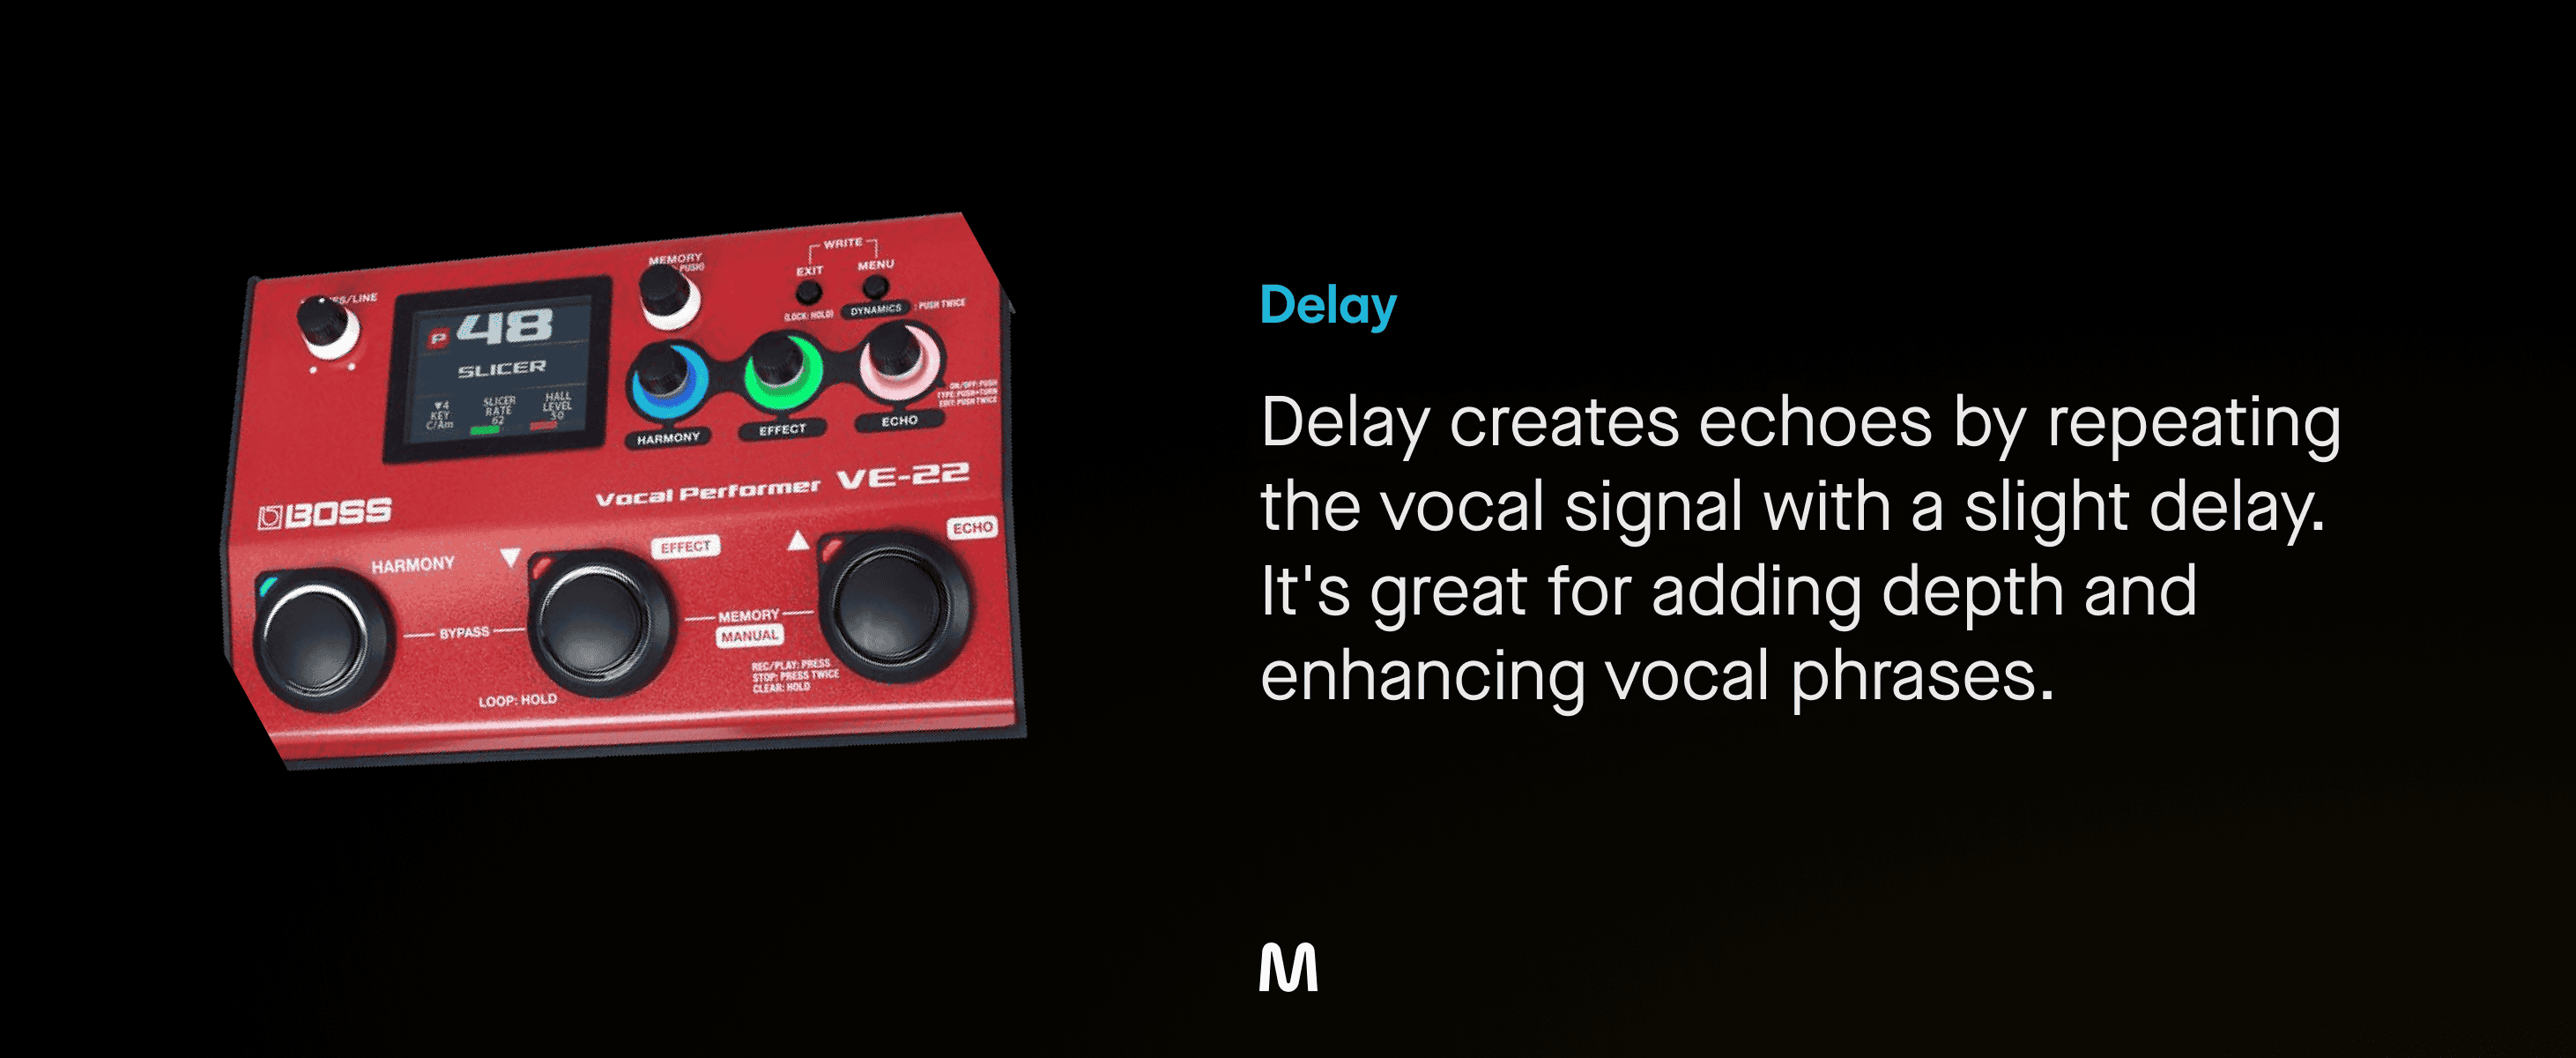
Vocal delay is an audio effect that repeats the vocal signal after a specified period, creating an echo-like effect. By delaying the vocal track, you can add depth, space, and rhythmic complexity to your mix. Unlike reverb, which simulates the natural reflections of sound in a space, delay creates distinct, repeated echoes that can be precisely timed to enhance various aspects of the vocal performance.
- Purpose: Delay creates echo effects by repeating the audio signal after a set period.
- How it works: By duplicating the vocal and playing it back at a delayed time, delay adds rhythm and texture.
- When to use it: Use delay to create echoes, enhance vocal presence, or add rhythmic interest.
- Pro Tip: Sync the delay time to the tempo of your track for a cohesive feel, and experiment with feedback and mix levels to achieve the desired effect.
Types of Vocal Delay
- Slap Delay:
- Description: Produces a quick, single echo.
- Usage: Ideal for adding a vintage vibe and depth to vocals. This effect became popular in the early 50s with artists like Elvis Presley, who achieved it by connecting two tape recorders with one having a delayed offset. Today, you can easily replicate this effect using VST plugins like EchoBoy from Soundtoys.
- Pro Tip: Use a minimum of 64 milliseconds delay. For a widening effect, try 64 ms on the left and 124 ms on the right. Avoid matching it precisely to your beat; the best slap effects come from having the delays slightly offset. Experiment with combining different slap delays for even more shimmering vocals.
- Stereo Delay:
- Description: Splits the delay between the left and right channels.
- Usage: Widens the vocal track, adding dimension and space. Modern delay plugins offer various ways to achieve this, from simple stereo delays to ping pong delays that bounce the vocal between the left and right channels for a wide effect.
- Pro Tip: If your vocal track is mono, using stereo delays can add a stereo dimension, enhancing the mix. Experiment with different delay times, feedback settings, and automation to create dynamic effects. For instance, make delays narrower during verses and wider during choruses.
- Ping Pong Delay:
- Description: Alternates the delayed signal between the left and right channels.
- Usage: Creates a dynamic, bouncing effect that enhances the stereo field.
- Long Delay:
- Description: Produces a longer, more pronounced echo.
- Usage: Fills in gaps between phrases and adds rhythmic complexity.
If you would like to hear vocal delay in action check out this video:
Key Parameters of Delay
- Delay Time: Controls the interval between the original sound and the repeated echoes. Adjusting the delay time can sync the echoes with the tempo of the track or create offbeat effects.
- Feedback: Determines the number of repeats. Higher feedback settings result in more echoes.
- Dry/Wet Mix: Balances the unprocessed (dry) signal with the delayed (wet) signal. Adjust this to control how much of the delay effect is heard.
- High and Low Cut Filters: Shape the delayed signal by filtering out high or low frequencies, ensuring the delay complements the original vocal without overwhelming it.
Practical Uses for Vocal Delay
- Accent Phrases & Words: Delays can accentuate specific words or phrases in your vocals, adding interest to your mix. This technique is especially useful in electronic or EDM music.
- Fill The Silence: Delays are great for filling silences in your mix. For example, during a breakdown, if your vocal track goes silent for a few bars, you can use delay to fill that space.
- Automate the feedback knob to let the delay ring out. When it’s time for the drop, reduce the feedback or turn off the delay to keep the focus.
- Improve Your Groove: Delays can enhance the groove of your vocal tracks, complementing the rhythm of your drums, melodies, and instruments. Using triplets or other distinctive delay settings can add a unique feel to your mix.
Delays can transform vocals, adding depth and rhythmic interest. They can accent hooks, fill silences, and enhance grooves. The key to using delays effectively is to experiment. Don’t use a delay just because it’s recommended; listen to how it interacts with your vocals and the rest of your mix. Sometimes, combining several delays or using both reverb and delay can yield the best results. Don’t be afraid to try new things and find what works best for your track.
Chorus
What is the Chorus Effect?
Chorus is an audio phenomenon that occurs when multiple similar sounds are heard simultaneously, like the massed voices of a choir or the rich, sparkling sound of a string orchestra. These similar sounds blend into one, creating a distinctive, shimmering quality that is pleasing to the ear.
In music production, the chorus effect emulates this sound using studio techniques. By duplicating a sound and altering the copies in subtle ways, it creates the impression of hearing multiple"voices"at once. This adds thickness and sparkle to the original sound, making it seem larger and more vibrant.
- Purpose: Chorus adds a slight variation in pitch and timing to duplicate the original signal, creating a fuller, more textured sound.
- How it works: By detuning and delaying the duplicated signal, the chorus makes the vocal sound as if multiple voices are singing in unison.
- When to use it: Use chorus to thicken vocals and add a lush, rich quality.
- Pro Tip: Use chorus subtly on lead vocals to avoid sounding artificial, but feel free to use more pronounced settings on backing vocals.
How Do You Get the Chorus Effect?
The chorus effect works by copying a signal and delaying this copy by a small amount (around 15–35 milliseconds). An LFO (low-frequency oscillator) changes the delay time over time, also altering the pitch of the copied signal, making it slightly out of tune with the original. The processed signal is then recombined with the original, creating the illusion of multiple instruments or voices playing together.
When the dry and processed signals combine, they produce a distinctive shimmering effect due to phase interference between the two signals. This phase relationship changes from moment to moment, creating the characteristic chorus sound.
The Difference Between Chorus, Flanger, and Phaser
Chorus is often confused with flanger and phaser effects. While they have similar sounds and are used in similar contexts, they differ in their technical implementation:
- Chorus: Uses longer delay times (15-35ms) to create a smooth, shimmering effect.
- Flanger: Uses shorter delay times (usually less than 20ms) to produce a more pronounced "jet engine" sweep.
- Phaser: Does not use delay; instead, it uses an all-pass filter to create phase shifts, resulting in a more ethereal and thinner sound.
Check out this video to hear what chorus, flanger and phaser sound like:
Famous Songs Using the Chorus Effect
Chorus has been a staple in music production for decades, especially on guitars but also on other instruments:
- The Beatles: Used innovative studio techniques to achieve chorus-like effects. On "Tomorrow Never Knows", John Lennon's vocals were processed through a Leslie speaker to create a chorus effect.
- The Police: Andy Summers' shimmering guitar tone, a cornerstone of the band's sound, prominently features chorus effects, as heard on "Walking On The Moon".
- Nirvana: Kurt Cobain used a chorus to create a blurry, distant sound, as demonstrated on "Come As You Are".
Chorus Parameters
Understanding and mastering the basic parameters of chorus plugins will help you achieve the desired sound:
- Rate: Controls the speed of the LFO that modulates the chorus delay time. Lower rates create a gentle swaying feel, while faster rates produce a more noticeable warbling effect.
- Amount: Determines the extent of time and pitch modulation. Lower settings create subtle shifts, while higher settings result in more dramatic sounds.
- Delay: Controls the length of the delay in the chorus effect. Shorter delays affect the timbre, while longer delays add a reverb-like tail.
- Feedback: Controls how much of the processed signal is looped back into the effect. Higher feedback settings amplify the chorus effect, creating metallic resonances.
- Mix: Balances the dry and processed signals. Use the mix knob to blend the chorus smoothly with the original sound.
- Width: Controls the stereo width of the processed signal. Increasing the width enhances the stereo image, making the sound wider and more immersive.
How to Use the Chorus Effect
Chorus can serve your productions in numerous ways. It can add depth and ambience to pads or atmospheric sounds, thicken up vocals, or widen the stereo image. However, it's easy to overdo it. A chorus effect that sounds exciting at first might become tiring on the ear. Use the mix knob to blend the chorus effect back into your dry signal for a more balanced sound.
Applying Chorus to Vocals
Chorus can enhance vocals by thickening a lead vocal or pushing backing vocals to the sides of the stereo field. Use subtle settings for lead vocals and more extreme settings for backing parts to create space and depth.
Now that you know what chorus is, how it works, and how it has been used in music, you can start applying it to your productions. Chorus can add depth, width, and character to your tracks, making them more engaging and immersive. Experiment with different settings and applications to find the perfect chorus effect for your music.
Vocal De-Esser
What is Vocal De-Esser?
De-essing is the process of reducing the volume of sibilance (s’s and t’s, or “esses”) in a vocal recording. A de-esser is a frequency-dependent compressor that identifies the frequencies where sibilance occurs and reduces them once they exceed a specified threshold.
Sibilance is the bright, high-frequency sound caused by certain consonants like s’s, t’s, d’s, and z’s during speaking, rapping, or singing. The frequency range of sibilance varies for each voice, influenced by factors such as language, dialect, and accent. Harsh sibilance can result from the microphone type, EQ settings boosting the brightness or high-mids of a vocal, or the natural sound of the vocalist’s esses.
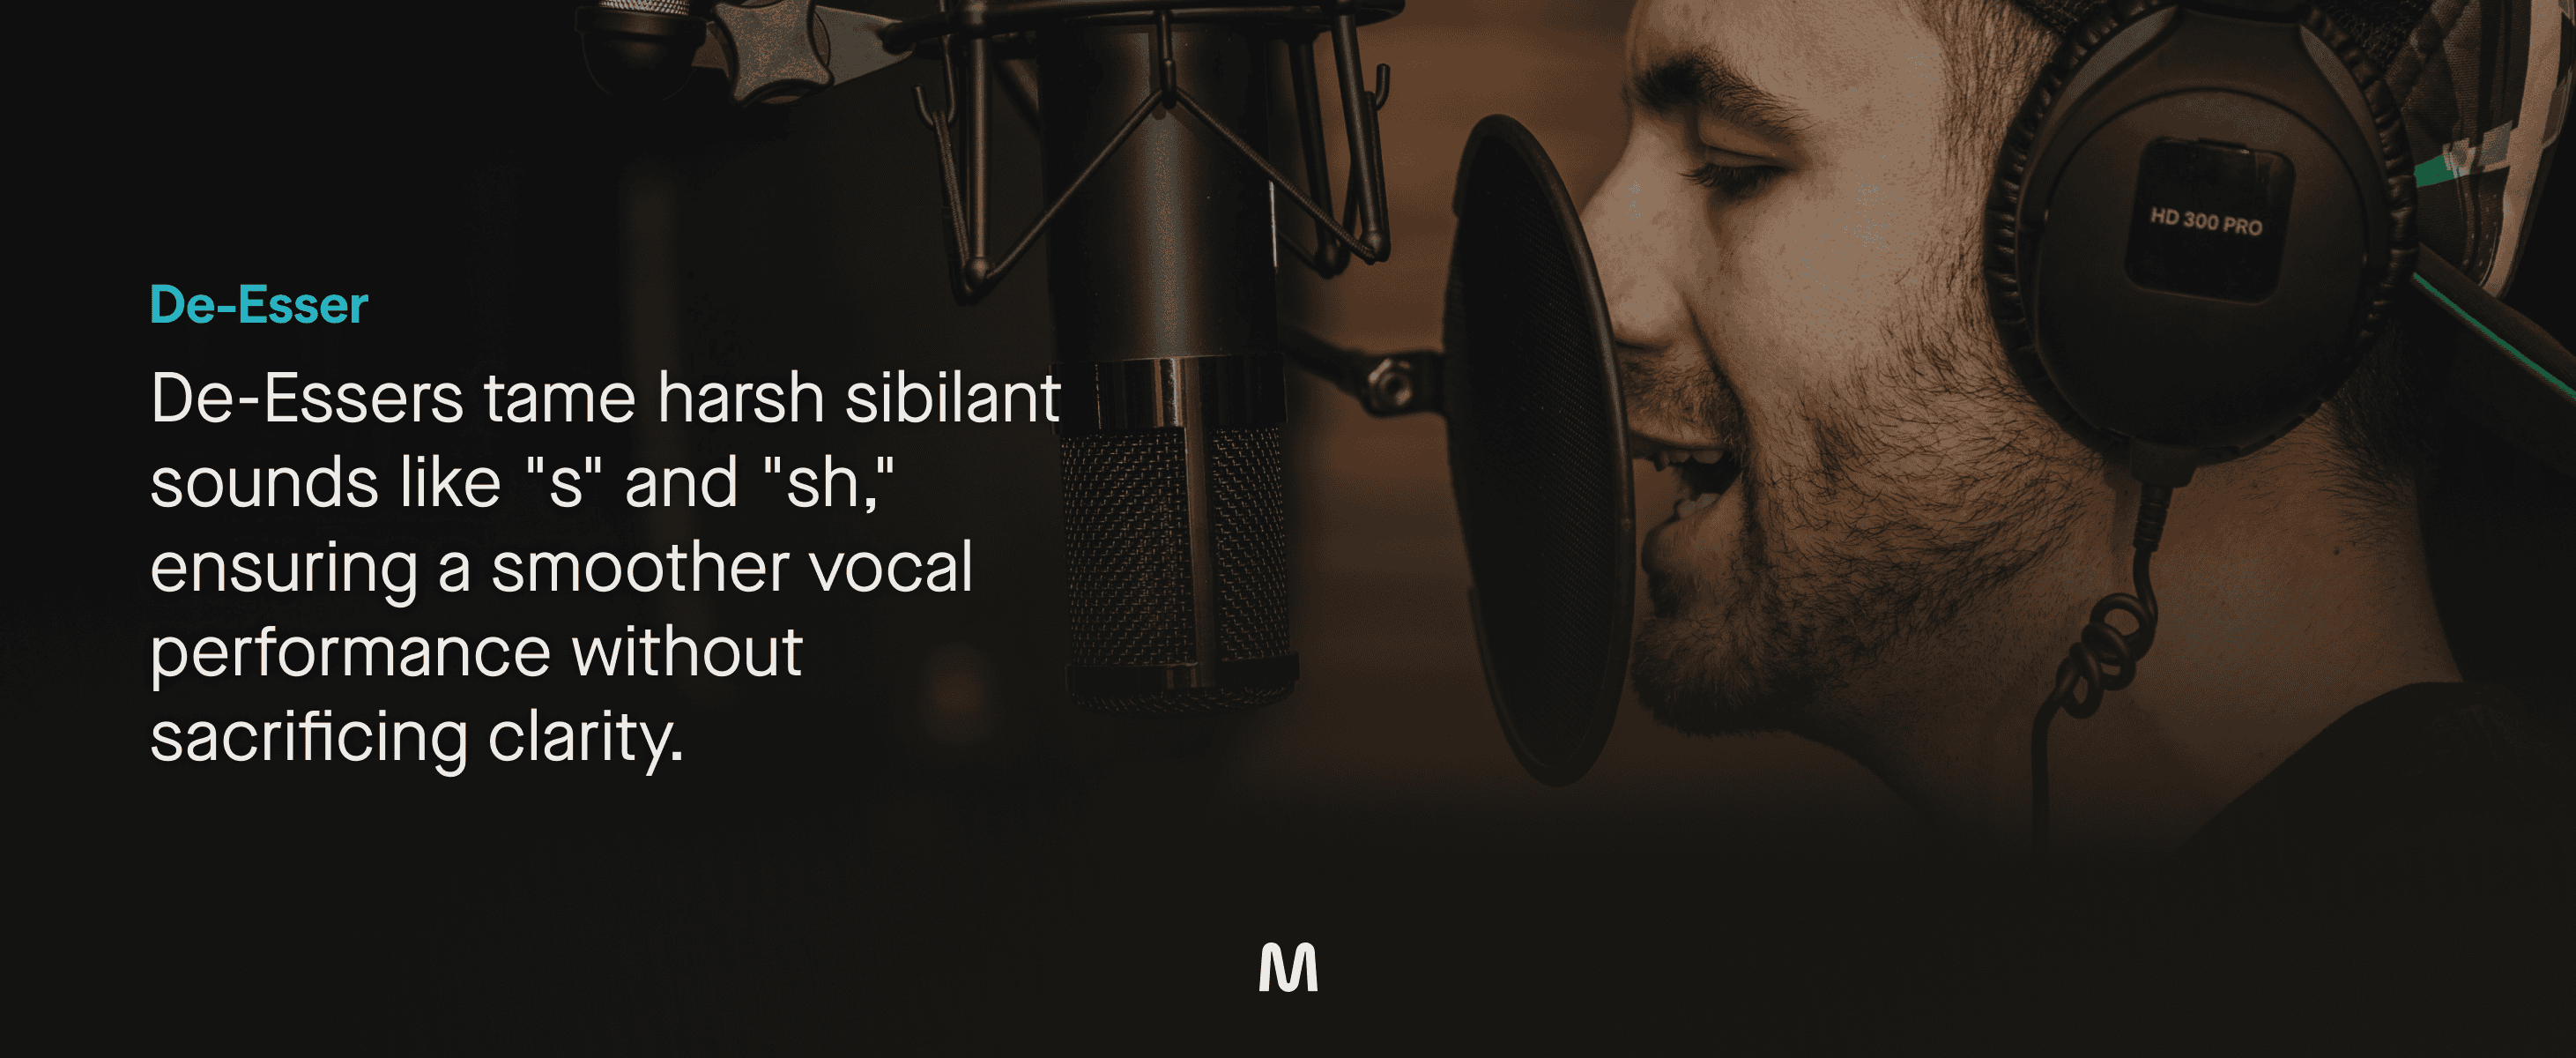
- Purpose: A de-esser reduces sibilance, which are the harsh 's' and 'sh' sounds in a vocal recording.
- How it works: By targeting and reducing high-frequency sibilant sounds, a de-esser smooths out the vocal performance.
- When to use it: Use a de-esser on vocal tracks where sibilance is too prominent and distracting.
- Pro Tip: Adjust the threshold and frequency range to target sibilance without dulling the vocal tone.
Why Do You Need a De-esser?
A de-esser is crucial for taming loud and prominent sibilance, making the vocal less harsh and more pleasant for listeners. Many professional recordings feature a de-esser somewhere in the vocal chain. However, not every vocal recording requires a de-esser. Overly harsh sibilance might not occur with every vocalist. Trust your ears to decide whether a de-esser is necessary. If sibilance is bothering you, especially when mixing on headphones, try using a de-esser.
Key Parameters of a De-esser
De-essers have straightforward parameters, but it takes experimentation and a tuned ear to use them effectively.
- Frequency:
- Purpose: Identifies the frequency range where sibilance occurs.
- Usage: Adjust the frequency parameter to pinpoint where the sibilance is occurring. Typically, sibilance exists in the 2 – 12 kHz range, with the most offensive esses around 5 – 8 kHz.
- Pro Tip: Some de-essers have a “listen” function that allows you to isolate or solo the target frequency for fine-tuning.
- Threshold:
- Purpose: Determines the level at which the de-esser starts to reduce sibilance.
- Usage: Set the threshold to a level where the de-esser effectively reduces sibilance without affecting other parts of the vocal.
- Pro Tip: Be intentional and use your ear when setting the threshold. Aim for some reduction without altering the vocal’s timbre or diction.
- Gain Reduction:
- Purpose: Controls how much the sibilant frequencies are reduced when they exceed the threshold.
- Usage: Adjust the gain reduction to soften the sharpness of sibilance without making the vocal sound unnatural.
- Pro Tip: 3 – 4 dB of gain reduction is common, but it can go up to 10 dB for very loud esses.
Watch this video to see how de-essing vocals works:
How to Use a De-esser Plugin
Using a plugin is the easiest way to de-ess. Loop a section of the vocal where the esses are most prominent. Use the “listen” function or your ear to set the target frequency. Adjust the threshold to set the de-esser’s sensitivity and the max reduction if needed. Listen back both in solo and in the context of the mix, and tweak accordingly.
Where to Put a De-esser in the Effects Chain
The placement of a de-esser in the vocal chain is often debated, but it’s generally recommended to place it before a compressor and after an EQ. Since de-essers use dynamic changes to identify sibilance, a compressed vocal might make it harder for the de-esser to work. If you’re adding brightness with an EQ, the de-esser should account for that when reducing sibilance.
If a single de-esser doesn’t catch all the sibilances, consider automating it. It’s rare for one de-esser to handle all sibilances in a vocal performance, so automation ensures that every harsh ess is addressed.
Should You De-ess Manually?
Some producers and engineers prefer to manually reduce sibilance due to its unpredictable nature. This involves identifying harsh sibilance in the waveform, cutting the audio, and reducing the volume with clip gain or a similar process. While time-consuming, this method allows for a more customized and thorough result.
De-essing is a critical step in vocal production. By understanding how to use a de-esser effectively, you can ensure your vocals are smooth, clear, and free of harsh sibilance, resulting in a more polished and professional sound.
Pitch Correction
What is Pitch Correction?
Pitch correction is the process of fixing notes that are out of tune. This is achieved in two primary ways, depending on the plugin used. The first method involves analyzing the incoming pitch, determining if it is too low (flat) or too high (sharp), and automatically adjusting the pitch to be centered on the correct note. This is how plugins like Auto-Tune and Nectar 4 operate, typically processing the entire track as a global effect.
The second method allows for more detailed control by enabling the user to adjust notes individually. This note-by-note adjustment is how Melodyne operates, providing a more fine-tuned approach rather than a broad, global effect.
The method you choose will depend on the singer’s performance and your goals for pitch correction. Understanding how pitch is measured is also crucial. Pitch is measured in cents and semitones, where 100 cents make up one semitone, the equivalent of a half step on a piano.
- Purpose: Pitch correction adjusts the pitch of a vocal performance to ensure it is in tune.
- How it works: By analyzing the pitch and making precise adjustments, pitch correction tools can correct off-key notes.
- When to use it: Use pitch correction to fix pitch issues or to achieve stylistic effects, like the auto-tune effect.
- Pro Tip: Use pitch correction subtly for natural-sounding results, or more aggressively for creative, robotic effects
Ways to Use Pitch Correction
Pitch correction can be used in various ways. Often, you won't even notice its subtle application to fix a note or two in a performance. However, genres like pop and hip hop frequently use heavy pitch correction as a vocal effect. You can also use pitch correction creatively, such as copying a vocal track, tuning one copy, and leaving the other un-tuned to create a double track. Additionally, pitch correction can quickly create vocal harmonies.
While this tutorial focuses on vocals, pitch correction can be applied to other instruments as well, including bass, horns, and strings. Most techniques for vocal pitch correction will work for almost any monophonic source, so feel free to experiment with various sounds, even drum samples!
How to Use Pitch Correction on Vocals
Tuning vocals is one of the first steps in making your vocals sound professionally mixed. Typically, pitch correction should be the first insert on a track, before any EQ or compression. This is important because, in plugins like Melodyne, you transfer your vocal track’s audio into the plugin. If EQ or compression is applied before pitch correction, those effects will also transfer, requiring rework if you change settings later.
Nectar operates differently, so plugin order is less critical. However, I prefer to EQ the tuned vocal, especially for creative applications, because the tuner can add its own EQ curve that may need adjustment to fit the mix.
Watch the video below to hear how powerful pitch correction can be:
Methods of Pitch Correction
- Subtle Pitch Correction on Vocals: Subtle pitch correction aims to be transparent, gently nudging notes toward perfect pitch without being noticeable. This approach is used when the vocal performance is mostly on pitch, with only minor adjustments needed. For example, in Melodyne, you can move out-of-tune notes to the correct pitch on the staff.
- Rigorous Pitch Correction on Vocals: For a more pop sound, rigorous pitch correction is applied, making the tuning effect audible. Plugins like Nectar 4 or Auto-Tune offer controls to adjust the speed of returning. A faster speed corrects pitch almost immediately, producing the characteristic "Auto-Tune'' sound.
- Pitch Correction as a Creative Effect: Many artists use pitch correction creatively. Cher and T-Pain popularized this use in pop music, and countless artists across genres have since adopted it. For instance, Billie Eilish’s "NDA" showcases creative pitch correction. Tuners like Nectar 4 often include formant control, allowing you to change the vocal’s resonance without altering pitch, creating effects like robotic or chipmunk voices.
- Using Pitch Correction to Add Harmonies: Pitch correction can also create harmony parts to complement the lead vocal. Duplicate the lead vocal track, then pitch the duplicate up or down by specific intervals to add harmonies.
Common Questions About Pitch Correction
- Is Pitch Correction the Same as Auto-Tune?
- Pitch correction is often referred to as "Auto-Tune," but Auto-Tune is just one brand of pitch correction software. Since Auto-Tune’s launch in 1997, many alternatives have emerged, each offering unique features.
- Pitch correction is often referred to as "Auto-Tune," but Auto-Tune is just one brand of pitch correction software. Since Auto-Tune’s launch in 1997, many alternatives have emerged, each offering unique features.
- Is it Okay to Use Pitch Correction?
- Pitch correction is a valuable tool in music production, saving time and enhancing vocal performance. While some may view it as "cheating," it’s no different than using any other tool to improve your work. Most vocalists use pitch correction, whether they admit it or not.
- Pitch correction is a valuable tool in music production, saving time and enhancing vocal performance. While some may view it as "cheating," it’s no different than using any other tool to improve your work. Most vocalists use pitch correction, whether they admit it or not.
- Do Professional Singers Use Pitch Correction?
- Yes, professional singers use pitch correction. Even top artists don’t hit every note perfectly every time. Pitch correction transcends genres, used by artists from Katy Perry to Kanye West. It’s a tool to enhance the quality of the work, and professionals aren’t afraid to use it. You shouldn’t be either.
Using pitch correction can help your music sound polished and professional, ensuring every note is perfectly in tune while also offering creative possibilities to enhance your sound.
Saturation
What is Saturation?
Audio saturation adds warmth and richness to your recordings by mimicking the pleasant distortions that happened with old analog equipment. When audio is pushed too hard, it creates extra harmonics and gently compresses the sound, making it fuller and more pleasing. Today, we use digital plugins to recreate these effects.
- Purpose: Saturation and distortion add harmonic content and grit to a vocal, enhancing warmth and presence.
- How it works: By introducing harmonics and soft clipping, these effects create a richer, more textured sound.
- When to use it: Use saturation to add warmth and body, and distortion for more aggressive, creative vocal effects.
- Pro Tip: Use subtle saturation on vocals to add warmth and presence, or heavier distortion for a more dramatic effect.
Types of Audio Saturation
- Tape Saturation:
- Description: In analog studios, magnetic tape machines were used to record audio. When the signal was driven hard onto the tape, it would reach a saturation point.
- Effects: Adds new harmonics, making the sound warmer and fuller, and gently compresses the peaks of the signal.
- Usage: Great for adding warmth and fullness to vocals.
- Tube Saturation:
- Description: Occurs when audio is pushed through tube amplifiers.
- Effects: Creates warm, rich tones by adding even harmonics, which are closer in frequency to the original sound.
- Usage: Ideal for giving vocals a warm, full-bodied sound, especially useful for thin or harsh vocals.
- Transistor Saturation:
- Description: Happens when a high signal causes a voltage drop in a transistor-based circuit.
- Effects: Produces a brighter sound with more mid and high frequencies by adding odd harmonics.
- Usage: Best for adding brightness and presence to vocals, helping them cut through a dense mix.
Even and Odd Harmonics
- Even Harmonics: These are multiples of the original note (2x, 4x, etc.), creating a softer and warmer sound.
- Odd Harmonics: These are multiples like 3x and 5x, adding more complex overtones, making the sound brighter and more aggressive.
Check out this video to hear how vocal saturation works:
Saturation vs. Distortion
Saturation is a subtle form of distortion that enhances audio by adding warmth and richness. While all distortion alters the shape of the audio waveform, saturation specifically adds harmonic content and soft compression. Other types of distortion, like digital distortion, can be harsher and less pleasant to the ear.
Benefits of Using Saturation on Vocals
- Analog Warmth: Adds the rich, warm sound reminiscent of classic analog recordings.
- Increased Loudness: Subtle compression and distortion make the track sound louder.
- Enhanced Presence: Helps vocals stand out in a mix.
- Cohesive Mix: Smooths out dynamics and adds harmonic content, making the mix sound more unified.
- Creative Effects: Alters textures and tones dramatically, offering new creative possibilities.
How to Use Saturation on Vocals
- Gain Staging: Ensure the vocal signal is at the right level before applying saturation. This usually means aiming for around -3dBVU to 0dBVU.
- Adding Warmth and Fullness: Use tube saturation to add warmth and body to thin vocals. This type of saturation is excellent for making vocals sound rich and full.
- Increasing Presence: Apply transistor saturation to add brightness and definition, helping vocals stand out, especially in dense mixes.
- Balancing Frequencies: Use tape saturation to smooth out high-end harshness and balance the overall tone of the vocals.
- Thickening Specific Frequency Ranges: Use multiband saturation to target and enhance specific frequency ranges, like the midrange, to add body and presence.
- Parallel Saturation: Blend the original vocal signal with a saturated version to get the best of both worlds. This preserves the clarity of the original while adding the warmth and fullness of saturation.
- Automation: Apply saturation selectively using automation to add excitement and contrast to different parts of the vocal performance.
Should You Always Apply Saturation on Vocals?
While saturation can add warmth and depth to vocals, it’s not always necessary. If your vocals were recorded with high-end analog gear, additional saturation might not be needed. However, for clean digital recordings, saturation can significantly enhance the vocal sound. Use it wisely to avoid over-saturating and muddying the mix.
By experimenting with different types and settings of saturation, you can transform your vocals, making them richer, fuller, and more engaging. Whether you’re aiming for a classic analog warmth or a modern, punchy sound, saturation can be a powerful tool in your vocal production toolkit.
Vocal Doubling
What is Vocal Doubling?
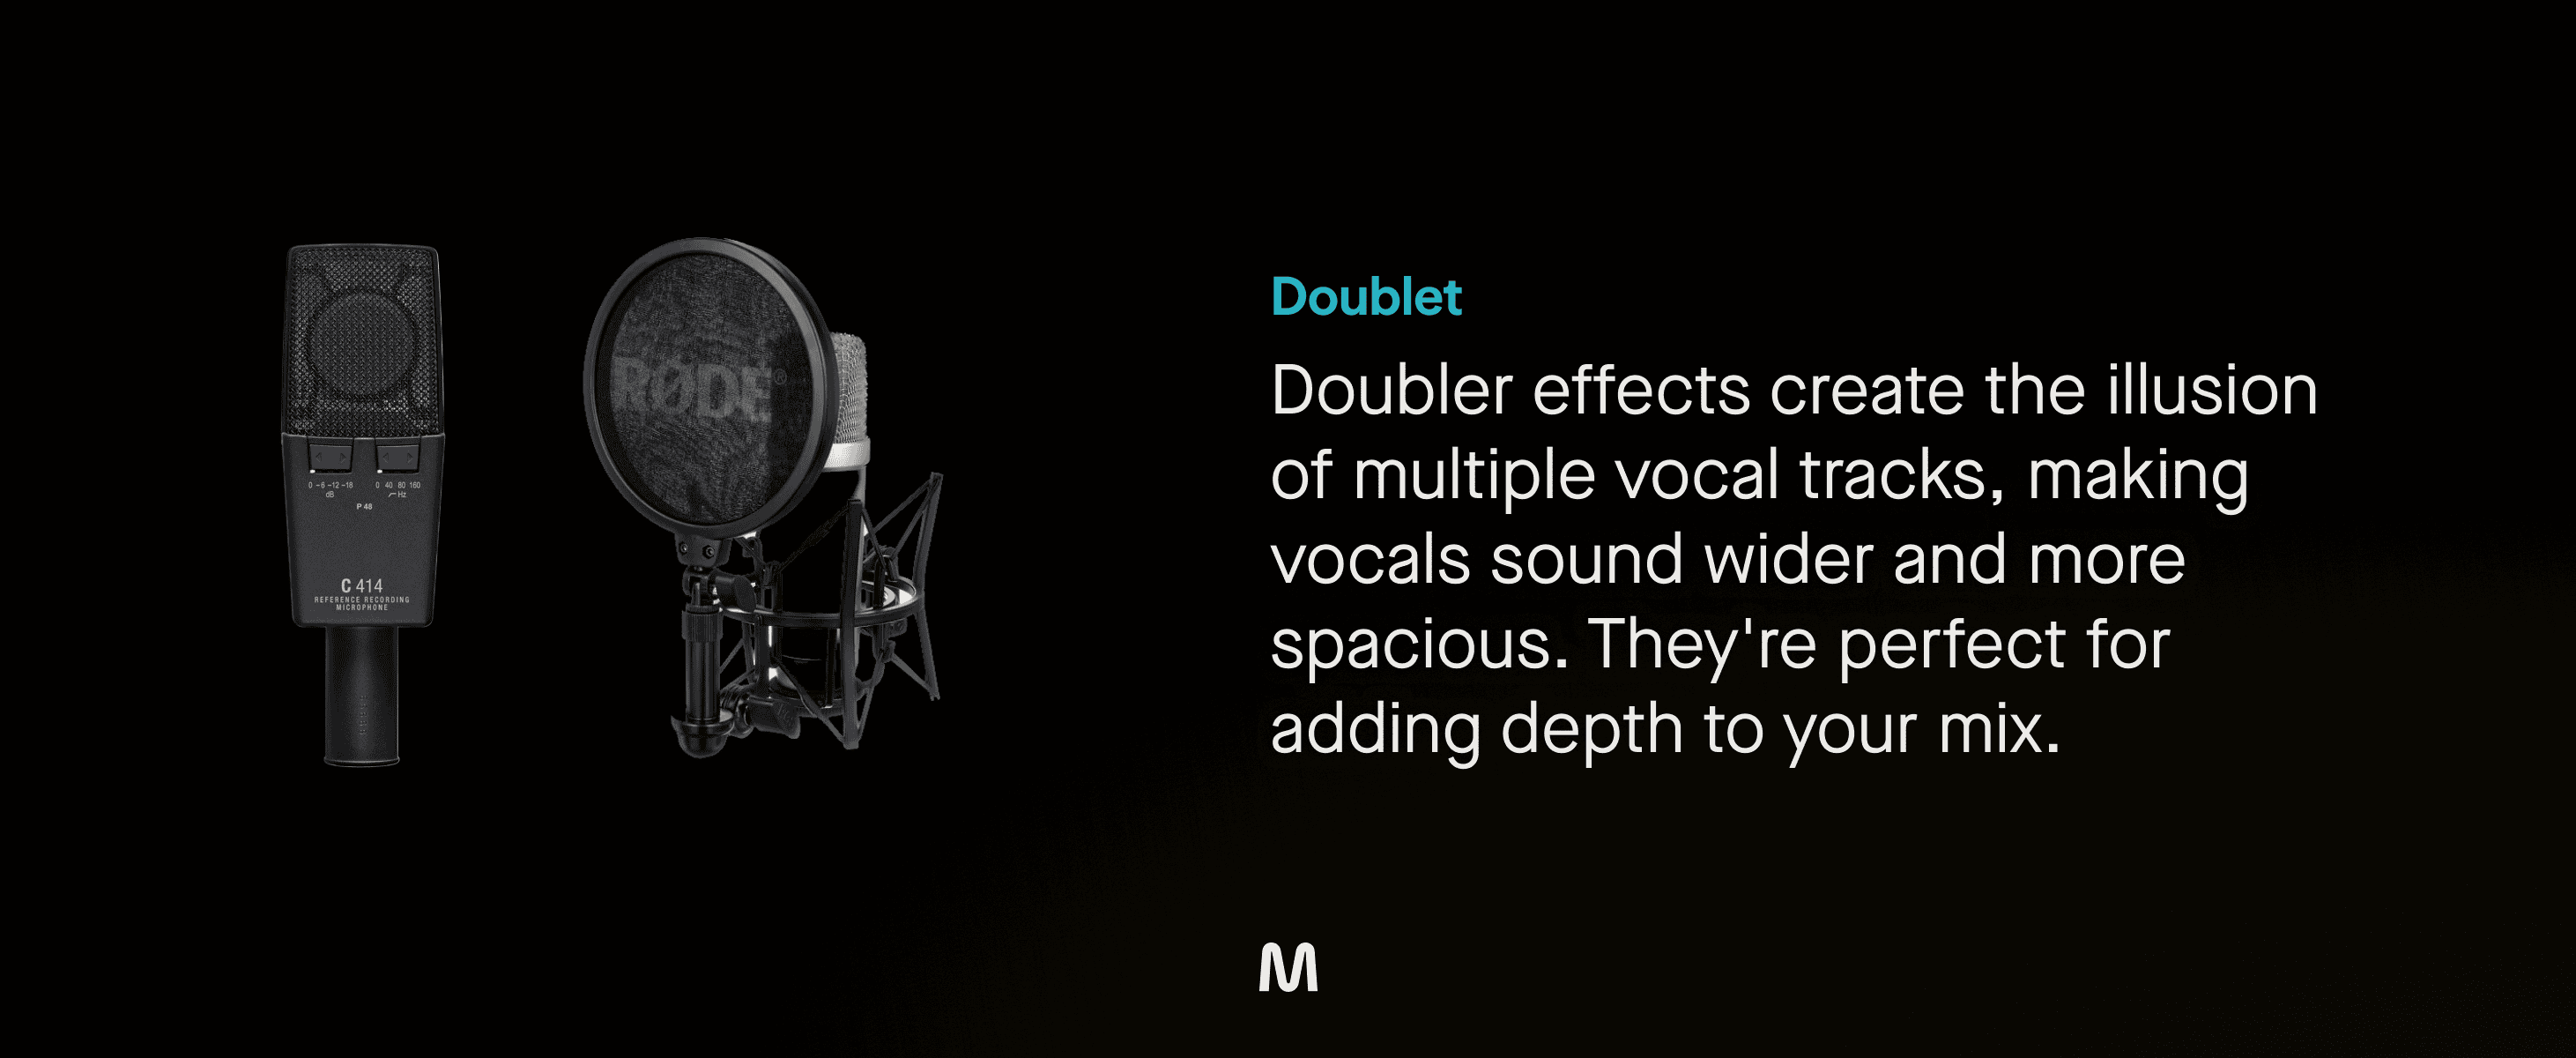
Vocal doubling is a recording technique used to add richness and texture to vocals. By layering multiple vocal takes over each other, you create a fuller sound that helps the singer stand out in a mix. This effect can be achieved naturally by recording the same part multiple times or by using a vocal doubler plugin.
- Purpose: A doubler effect duplicates the vocal signal and adds slight variations to create a fuller sound.
- How it works: By creating a copy of the vocal and modulating its pitch and timing, a doubler can make a single vocal performance sound like multiple takes.
- When to use it: Use a doubler to add depth and width to vocal tracks.
- Pro Tip: Blend the doubled signal with the original vocal to enhance the overall texture without losing clarity.
Using a Vocal Doubler
While recording multiple vocal takes can produce excellent results, using a vocal doubler plugin is a great alternative, especially when working on a tight deadline or when a more processed sound is desired. Vocal doubler plugins can emulate the effect of double tracking without needing the singer to perform multiple takes. These tools provide a professional sound quickly and efficiently.
Watch this video to hear what they sound like:
How Vocal Doublers Work
Vocal doublers create the illusion of multiple vocal performances by taking a single vocal track and replicating it. The duplicate is then slightly altered in time and pitch to mimic the natural variations of multiple takes. Here’s a simple breakdown of the process:
- Input: Enable a vocal doubler effect plugin on your single vocal track.
- Duplication: The plugin duplicates the vocal track.
- Modification: The duplicate is modified with slight delays, pitch variations, and sometimes changes in formant to produce a natural-sounding effect.
- Output: The altered duplicate is mixed with the original signal to create a fuller, richer sound.
Key Features of a Vocal Doubler
- Stereo Width Control: Adjust the stereo spread for precise control over the stereo image.
- Tone and Pitch Variation: Subtly alter pitch and tone to ensure the doubled vocals blend well without sounding artificial.
- Dry/Wet Mix: Balance the original and affected vocal track for the desired thickness.
Benefits of Using Vocal Doubling
- Richness and Depth: Adds fullness to the vocal track, making it sound more powerful.
- Enhanced Presence: Helps the vocal stand out in the mix.
- Professional Sound: Achieves a polished, studio-quality sound quickly.
Practical Tips for Using Vocal Doublers
Achieving the Best Doubled Effect: Slight timing and pitch discrepancies enhance the doubled effect, giving a sense of thicker vocals without sounding unnatural.
Integrating with Virtual Instruments: Blend seamlessly by adjusting the level of your doubled vocals to complement the virtual instruments. Apply EQ cuts to virtual instruments and boosts to vocals as needed to ensure they sit well together.
Mixing Doubled Vocals:
- Pan settings: Place your doubles slightly off-center to maintain focus.
- Level adjustments: Keep the level of the double just below the lead vocal.
- Effects and processing: Use reverb and delay sparingly on the double to keep the mix clear for the lead.
Incorporating Vocal Doubling in Different Genres
- Pop and Rock Music
- Pop: Use vocal layers to create a polished, radio-ready sound.
- Rock: Double or triple your vocal tracks for big, anthemic hooks.
- Hip-Hop and Electronic Music
- Hip-Hop: Apply doubling selectively on certain phrases to emphasize lyrical punchlines.
- Electronic: Layer background vocals subtly for a spacious, otherworldly effect.
- Folk and Indie Music
- Folk: A gentle double layered under the lead vocal can enhance storytelling.
- Indie: Minimal doubling can bring out raw emotion.
Popular Vocal Doubler Plugins
- iZotope Vocal Doubler: Provides a natural doubling effect with an intuitive interface. Minimal parameter controls ensure a streamlined experience for beginners.
- Waves Reel ADT: Inspired by the vintage "artificial double tracking" technique developed at Abbey Road Studios. Offers a classic sound that can be subtly or drastically applied to vocal tracks.
- Soundtoys MicroShift: Broadens vocals using a unique algorithm, great for lush harmonies or a rich backing chorus.
Vocal Transient Shaper
What is Transient Shaping?
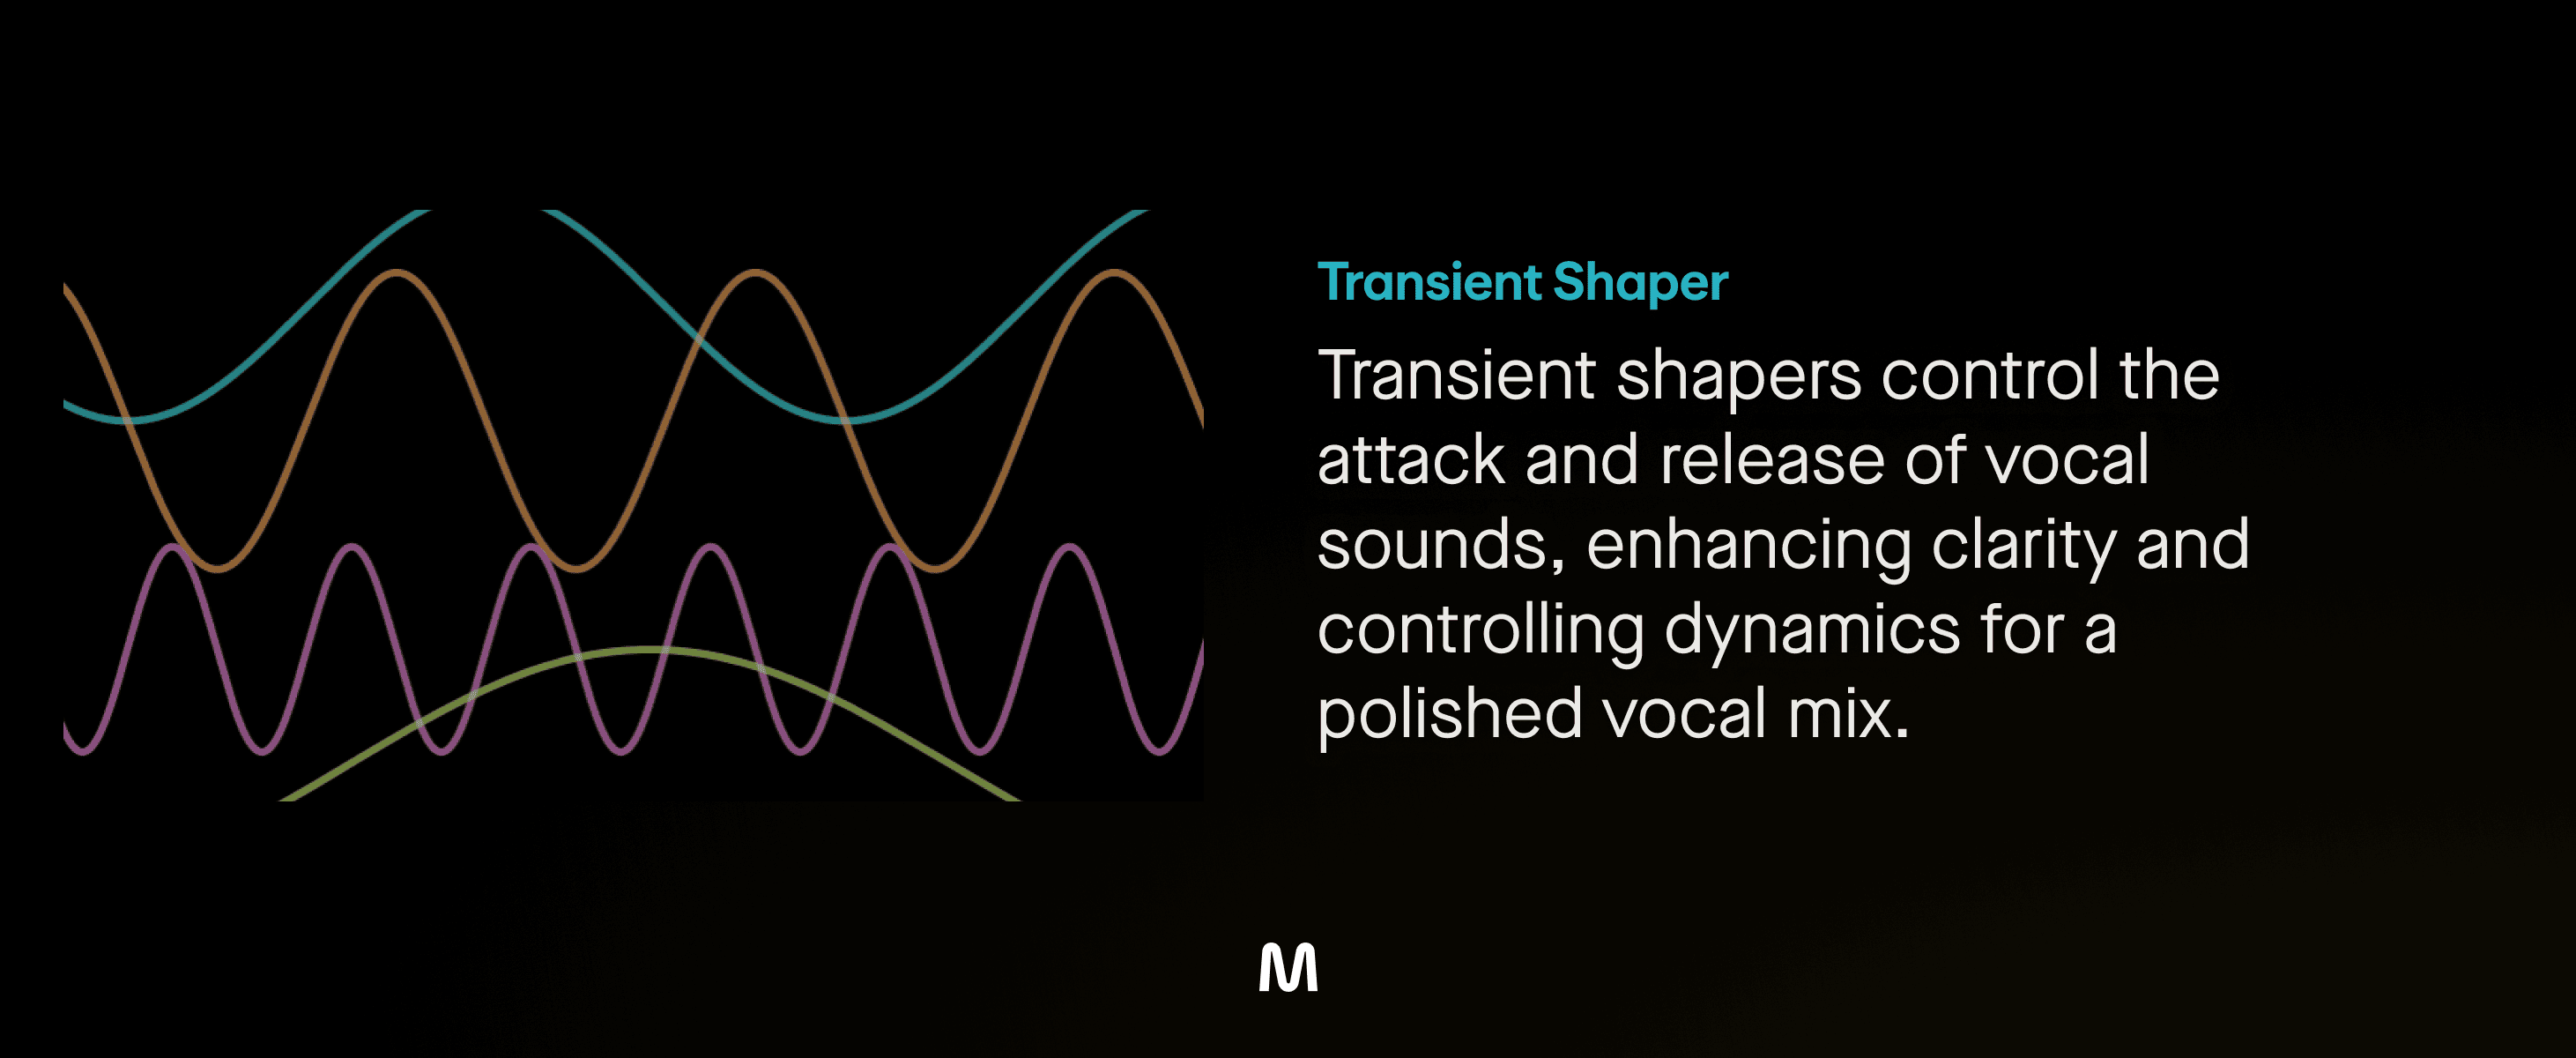
Transient shaping is an audio processing technique used to manipulate the attack and sustain characteristics of an audio signal. While it is commonly used on percussive elements like drums, it is also highly effective on vocals to enhance their clarity and presence in a mix. By adjusting the transients, you can make a vocal track sound punchier and more defined, helping it cut through the mix.
How Transient Shaping Works
Transient shapers work by detecting the transient elements (the initial, sharp parts of a sound) and allowing you to adjust their levels independently of the rest of the signal. This manipulation can enhance or soften the attack of a vocal, as well as control the sustain (the tail end of the sound).
Watch this video to listen to what transient shaping sounds on vocals:
Key Features of Transient Shapers
- Attack Control: Adjusts the initial hit of the sound, making it more pronounced or more subtle.
- Sustain Control: Adjusts the tail end of the sound, controlling how long it lasts.
- Sensitivity Settings: Allows you to control which transients are affected, enabling precise adjustments.
- Stereo Width Control: Some transient shapers allow you to adjust the stereo width, providing a broader or narrower sound.
- Visual Feedback: Many transient shapers come with visual displays that show the effect on the signal, making it easier to dial in the perfect settings.
Benefits of Using Transient Shaping on Vocals
- Enhanced Clarity: By boosting the attack, vocals can cut through a dense mix, making them more intelligible.
- Dynamic Control: Reduces the need for excessive compression by naturally controlling the dynamics of the vocal track.
- Presence and Punch: Adds a sense of presence and punch, making the vocal sound more lively and energetic.
- Flexibility: Can be used creatively to achieve various effects, from subtle enhancements to dramatic changes.
How to Use Transient Shaping on Vocals
- Initial Setup: Insert a transient shaper plugin on your vocal track.
- Adjust Attack: Increase the attack to make the initial sound of the vocal more pronounced. This helps the vocal to stand out.
- Adjust Sustain: Modify the sustain to control the tail of the vocal. Reducing sustain can make the vocal sound tighter, while increasing it can add body.
- Fine-Tuning: Use sensitivity settings to fine-tune which transients are affected, ensuring you only enhance the desired parts of the vocal.
- Stereo Width (Optional): Adjust the stereo width if your transient shaper offers this feature to give the vocal a broader soundstage.
- Monitor and Adjust: Continuously monitor the changes and adjust the parameters to achieve the desired sound without over-processing.
Popular Transient Shaper Plugins
- iZotope Neutron 4 Transient Shaper: Offers three distinct modes (precise, balanced, and loose) to suit different vocal styles and needs.
- Waves Smack Attack: Provides intuitive controls for attack and sustain with sensitivity settings, ideal for adding punch to vocals.
- Sonnox Oxford Envolution: Features separate transient and sustain sections with a powerful algorithm that automatically adjusts settings for optimized sound shaping.
- Native Instruments Transient Master: A straightforward plugin with basic controls for quick and efficient transient shaping.
Practical Tips
- Subtle Adjustments: Start with subtle adjustments to avoid over-processing the vocal.
- Contextual Listening: Always listen to the vocal in the context of the full mix to ensure it fits well.
- Combine with Other Effects: Use transient shaping in conjunction with other effects like EQ and compression for a polished sound.
- Experiment: Don’t be afraid to experiment with different settings to find the perfect balance for your track.
Using transient shaping on vocals can greatly enhance their impact and clarity in a mix. By understanding and utilizing this technique, you can achieve professional-sounding vocals that stand out and engage listeners.
How Musiversal Can Help
Musiversal offers more than just tools— we are working to revolutionize music creation. With access to world-class music production expertise and musicians, we’re your partner in bringing your vocal productions to life. Here’s how we can help you navigate these essential voice effects:
Professional Guidance
Our experts are ready to offer tailored guidance on using EQ, compression, reverb, delay, chorus, and other effects to enhance your vocal tracks. In our live remote sessions, you’ll work one-on-one with professionals who understand your unique needs and will help you make the right adjustments to achieve the sound you desire.
High-Quality Plugins
Through our post-production mixing services, Musiversal uses industry-standard plugins to ensure the highest quality for your vocal recordings. Whether it’s pitch correction, transient shaping, or saturation, we’ve got the tools to give your vocals that professional edge.
Collaborative Projects
Musiversal ’s platform allows you to collaborate with professional producers and engineers who can help you apply voice effects effectively. From mixing to mastering, our team will ensure your vocals shine.
Personalized Feedback
Get detailed feedback on your vocal tracks from professional experts. Our team can review your work and provide insights on how to refine your recordings using the right vocal effects, making sure your final product is polished and ready to captivate your audience.
With Musiversal, you don’t just get access to tools—you gain the support of an entire team dedicated to helping you create standout vocal productions. Join the waitlist now and see how we can elevate your vocal tracks to the next level.
Conclusion
Mastering essential voice effects—EQ, compression, reverb, delay, chorus, de-esser, pitch correction, saturation, doubling, and transient shaping—can significantly enhance your vocal production. These tools add depth, clarity, and professional polish to your tracks. By understanding how each effect works and experimenting with different settings, you can craft vocal productions that stand out and resonate with your audience.
If you’re searching for the perfect vocals for your music, exploring new voices, or simply not comfortable with singing yourself, check out our roster of world-class vocalists. Handpicked and experienced across various genres, these talented musicians are ready to collaborate with you through unlimited remote recording sessions and execute the vocals you envision to bring your songs to life.
If you enjoyed this article, be sure to check out more insights on the Musiversal Blog, where we dive into everything from music marketing tips to gear reviews, music theory lessons, and more.
Subscribe to our newsletter for exclusive benefits, including session highlights and expert advice to enhance your Musiversal journey. Join now! Happy producing!
Join The Musiverse: Your free space to connect, create, and compete.
Collaborate with global creators, level up in live workshops, and win exclusive prizes. Join the community today!
Join The Musiverse
Collaborate with global creators, level up in live workshops, and win exclusive prizes. Join the community today!
Your Music, No Limits.
Join the Waitlist